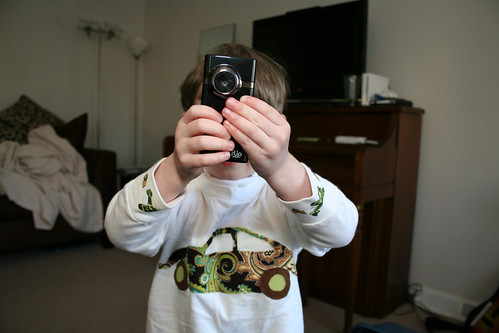
Tomorrow, I’ll be presenting at the “Explorations in Instructional Technology” brown bag seminar series at MSU. My presentation is called “Adding a FlipCam to Your Technology Toolbox (for Online and Offline Instruction).”
First we will explore some resources for using the flip:
The first is from Educause 7 things you should know about Flip camcorders:
http://www.educause.edu/ir/library/pdf/ELI7043.pdf
Next, is this brief video from Flip showing you some techniques for getting the best video from your camera:
How do I use the Flip?
In my online courses I frequently send my students a “video voicemail” to check in and increase a sense of instructor presence for the students. Sometimes I use my iSight, other times I make a screencast with Jing and other times I use the Flip! Last semester I did quite a bit of travel while I was teaching and the Flip came in really handy! (Here is an example of one from my CEP 815 course last semester: http://bit.ly/aq3lS)
In my summer teaching, we focus on the use of video in teaching — the Flip cams are a great way of introducing video and video production. The ease of use allows us to focus on story boarding, lighting, without worrying about editing or some of the more advanced video techniques – that comes later once students are more focused on the goal (rather than the tool!)
The best way to show the power of the FlipCam is to participate in a QuickFire!
FilpCam QuickFire Challenge
Step 1:
I will put you in groups and hand your group a secret topic. (The secret topic can be ANYTHING, a math problem, case study, foreign language scenario, be creative, you can do this with any discipline!)
Step 2:
Then I will hand out your storyboard paper. Each scene should run 10 seconds. (Here is a storyboard you can use – http://bit.ly/1uKliQ – you can change the number of scenes and length depending on how much time you have.) You have 10 minutes to complete this task.
Step 3:
Take your group storyboard and pass it to the group on your left. (This highlights the importance of communication and storyboarding.)
Step 4:
Now, you must execute the storyboard you were given. Record each scene (in sequence) You have 10 minutes to complete this task.
Step 5:
If your students have laptops, have them stitch the 3 scenes together – if not, have them turn the Flip into the instructor.
Step 6:
Watch the creations!
UPDATE 9/18/09 2PM
A big thank you to all who came to the session this afternoon! I sincerely appreciate your willingness to “get your hands dirty” and try out the QuickFire — I hope you enjoyed the activity and that it spurred ideas on how you can use the Flip in your own practice.
A few things —
http://drop.io – a lightweight easy to use site for file/video sharing and commenting/feedback. Can be made private.
The flip Mino HD is available at the MSU computer store for $149.00.
Here is a link to the Flip website that answers all the questions about the specs – http://www.theflip.com/products_flip_ultra_specs.II.shtml
How to embed almost anything into your website (via digital inspiration)
Store your videos on MSU’s StoreMedia – http://storemedia.vudat.msu.edu
I think that answers the main questions — please do not hesitate to email or comment below if you have further questions or ideas on how to use the Flip!!


Punya just reminded me that these were also created with the flip
http://punya.educ.msu.edu/2009/06/30/explore-create-share-the-videos/